
Twitterで2要素認証を設定したい
Twitterにログインをする時ユーザー名または電話番号、メールアドレスとパスワードでログインをしていると思いますが、それだけでは乗っ取りなどの被害にあう可能性があります。よりセキュリティを強化したいというユーザーの方におすすめなのが2要素認証(2段認証)です。
Twitterの2要素認証(2段認証)には
- セキュリティキー
- SMS(ショートメッセージ)
- 認証アプリ
以上の3種類があります。

2要素認証(2段認証)ってどうやってやるの?やり方が知りたい!というユーザーの為に今回は、Twitterで2要素認証を設定する方法をご紹介します。
今回は認証アプリを使った方法を解説します。セキュリティを強化したいと思っていたユーザーの方は設定してみてください。
Twitterで2要素認証を設定する方法
それではTwitterで2要素認証を設定する方法を解説します。
2要素認証で利用できる認証アプリはたくさんあるのでどれがいいか迷うユーザーの方もいらっしゃると思いますが、公式のヘルプにも記載されている『Google Authenticator』を使いたいと思います。まずは『Google Authenticator』をインストールしてください。今回はiPhoneの手順で解説します。下記のリンクから『Google Authenticator』をインストールしてください。
『Google Authenticator』のインストールが終わったらパソコンなどでTwitterを開きます。
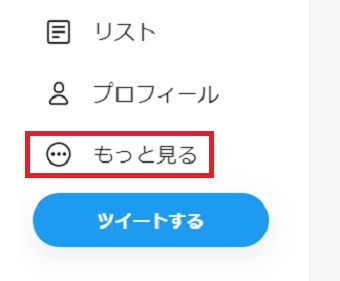
Twitterが開いたら左側のメニューの『もっと見る』をクリックします。
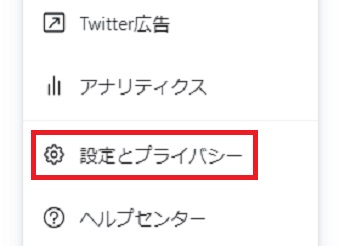
メニューが表示されたら『設定とプライバシー』をクリックします。
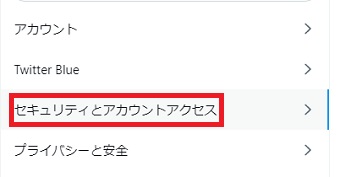
『設定とプライバシー』が開いたら『セキュリティとアカウントアクセス』をクリックします。
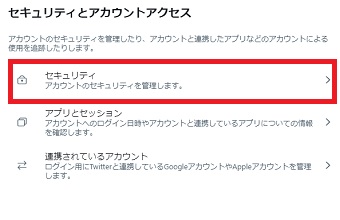
『セキュリティとアカウントアクセス』が開いたら『セキュリティ』をクリックします。
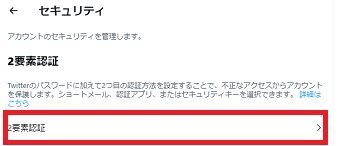
『セキュリティ』が開いたら『2要素認証』をクリックします。
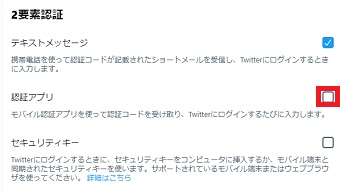
『2要素認証』が開いたら『認証アプリ』にチェックを入れます。
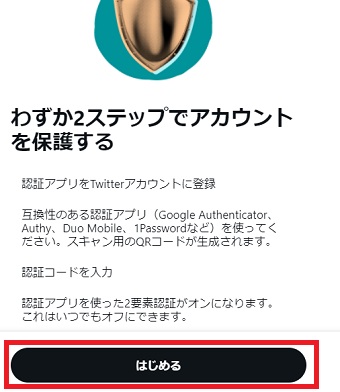
『わずか2ステップでアカウントを保護する』というメッセージが表示されたら『はじめる』をクリックします。
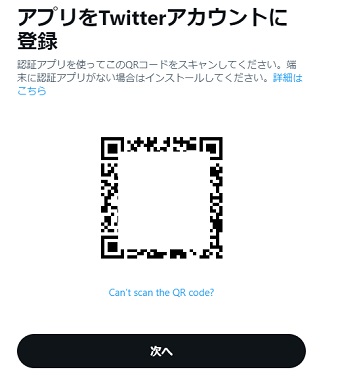
『アプリをTwitterアカウントに登録』という画面が開いたらiPhoneにある『Google Authenticator』を起動させます。
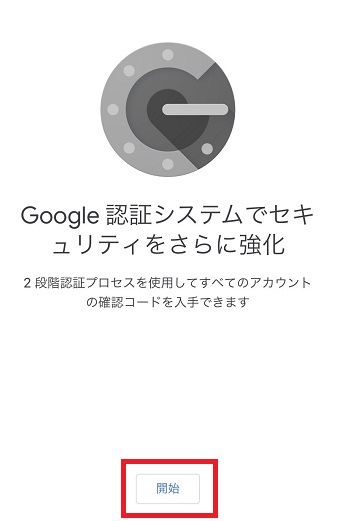
『Google Authenticator』を起動させたら『開始』をタップしてパソコンに表示されている『アプリをTwitterアカウントに登録』のQRコードを読み込みます。
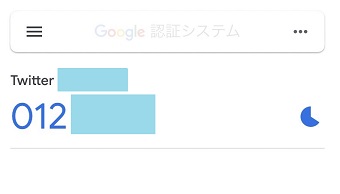
するとiPhoneの方にTwitterのログインで使う6桁の数字が表示されます。
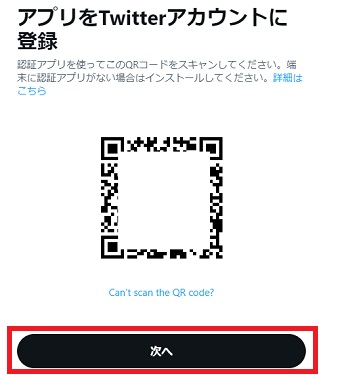
QRコードを読み込んだらパソコンの画面の『次へ』をタップします。
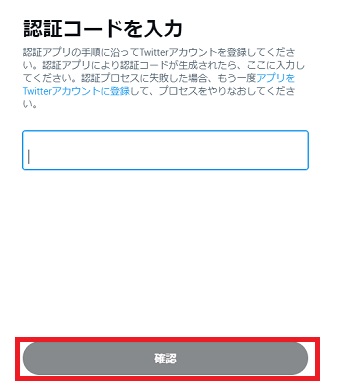
『認証コードを入力』が開いたら先ほどiPhoneの方に表示された数字6桁を入力し、下の『確認』をタップします。
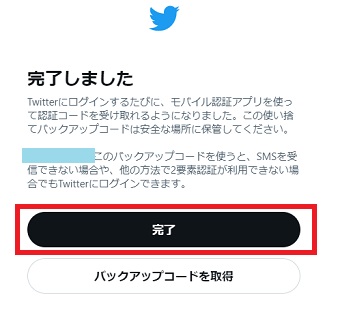
『完了しました』と表示されたら『完了』をクリックしてください。
これで2要素認証ができました。